How to Create a Stunning Fall Floral Arrangement
7 Simple Steps to Create a Fall Floral Arrangement!
Bring autumn into your home! It’s that time of year where the days are shorter, the leaves are changing, and pumpkin-spice is everything. The cool, crisp autumn air is approaching rather fast and what better way to kick-off the changing of seasons than with a festive fall floral arrangement created on a $30 budget. Below is my step-by-step process to creating a successful floral arrangement.
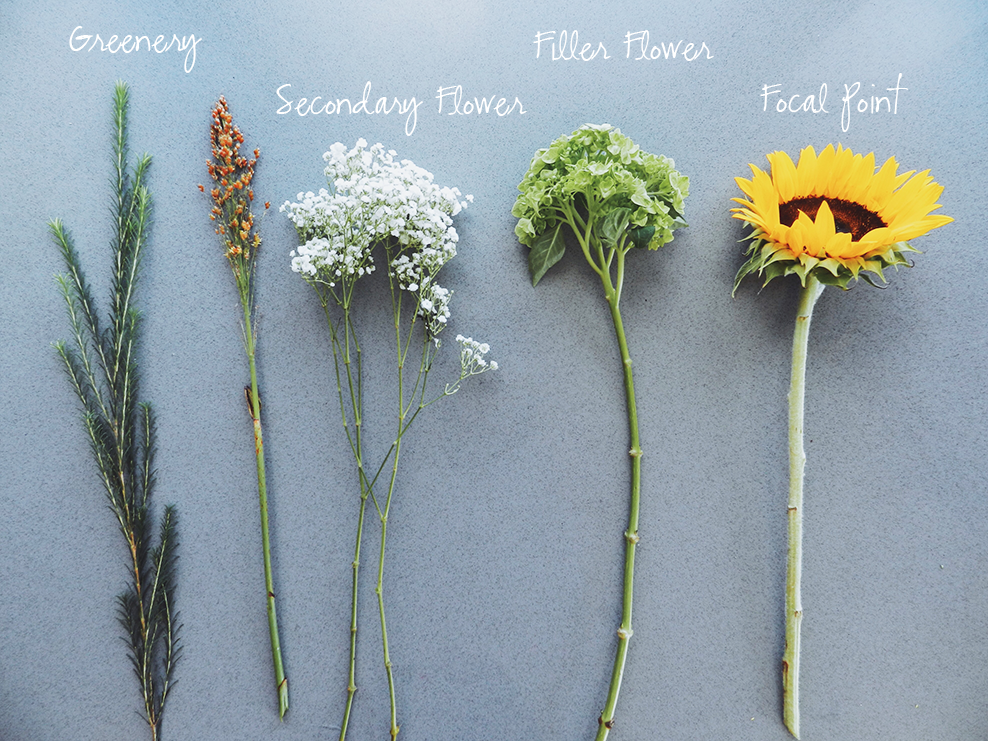
Step 1: Harvest or choose your recipe, and the sky is the limit with this one!
I foraged my ingredients from grocery cut flowers at my local Trader Joes and Harris Teeter. The biggest takeaway from previously being a floral design intern, was learning the recipe of successful floral arranging. The recipe includes: 15 stems of greenery, 15 stems of a filler flower, 8 stems of a secondary flower, and 8 stems of your focal flower. However, since my budget was $30, I cut the recipe almost in half and instead worked with 10 stems of greenery, 8 stems of filler flower, 5 stems of secondary flower, and 5 stems of focal my flower presented in a pumpkin as the vase.
Step 1: Choose your recipe!
Step 2: Process the flowers.
To begin, start off by clipping off the rubber bands, dispose of the plastic or newspaper and cut the stems at a 45 degree angle. This way your flowers get as much water as they can, quickly! Processing is mostly about grooming your flowers, and prepping them for the arrangement. This is my favorite part of the “process” (pun- intended), because while I am pulling off unwanted leaves, droopy petals, and trimming the stems I feel like I am getting to know the flowers I am working with.
Step 3: Carve your pumpkin.
Cut a square or round shape around the stem, remove the top, and clean out the insides of the pumpkin. Instead of filling the pumpkin with water, I placed a plastic liner inside using plastic wrap and a small bowl inside to avoid the pumpkin from rotting.
*Something to keep in mind- when arranging continuously spin your arrangement as you add to it. This will help you distribute weight, create shape, and bring symmetry to your arrangement as you go.
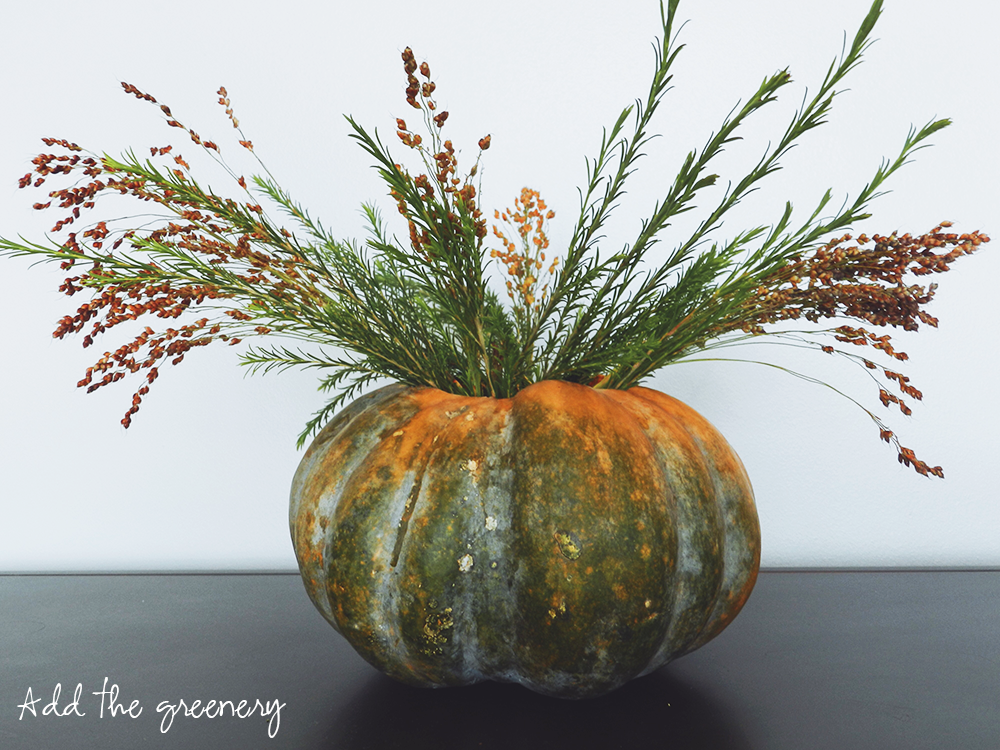
Step 4: Start with your greenery.
The greenery I used below, Trader Joes referred to as “mixed greenery”, I bought the green and red separately to bring some diversity to the base of the arrangement. Greenery is important because it creates support from the larger blossoms, like your secondary and focal flowers.
Step 4: Add the greenery
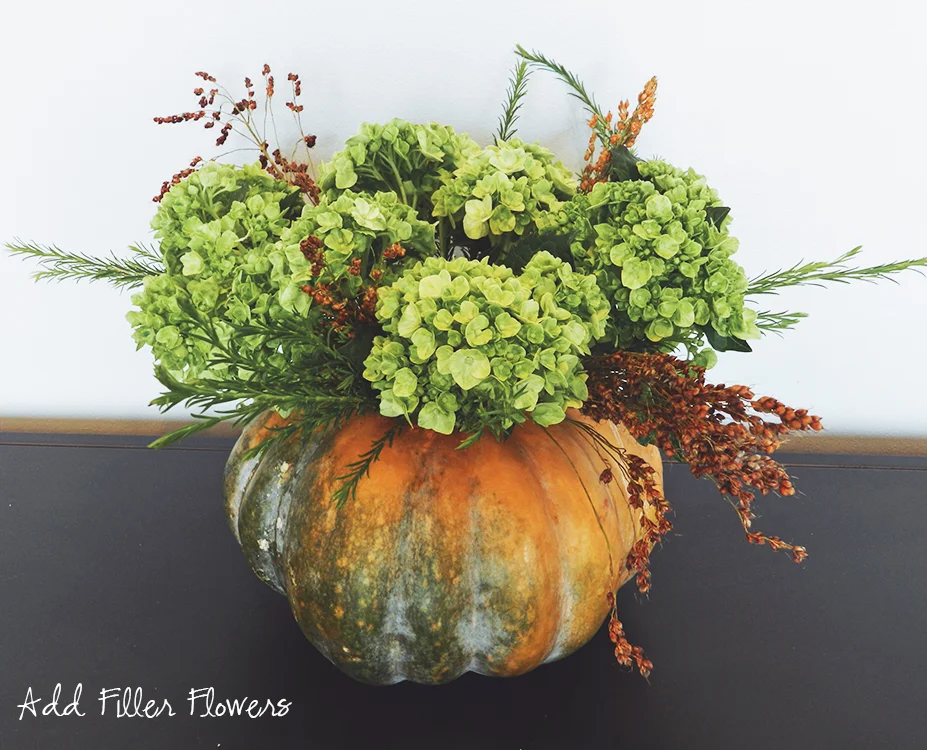
Step 5: Add in your filler flower.
For my filler flower, I used green Hydrangeas to create dimension. A larger bloom is encouraged, because they are needed to help take up space in the arrangement!
Step 5: Add the Filler Flowers
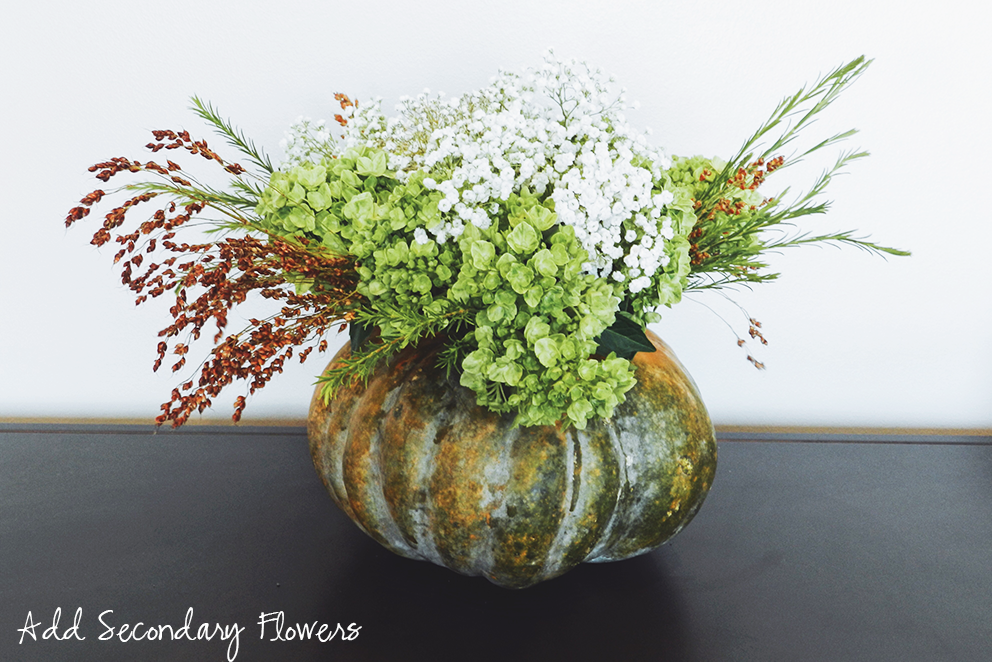
Step 6: Add in your secondary flower.
Secondary flowers are often supposed to be more delicate, smaller in size, and wild-looking than the focal and filler flowers. So I chose Gypsophila. I liked the small white blooms because they brought variety in size, color, and gave the arrangement a more “wooded” or “wild” appearance.
Step 6: Add Secondary Flowers
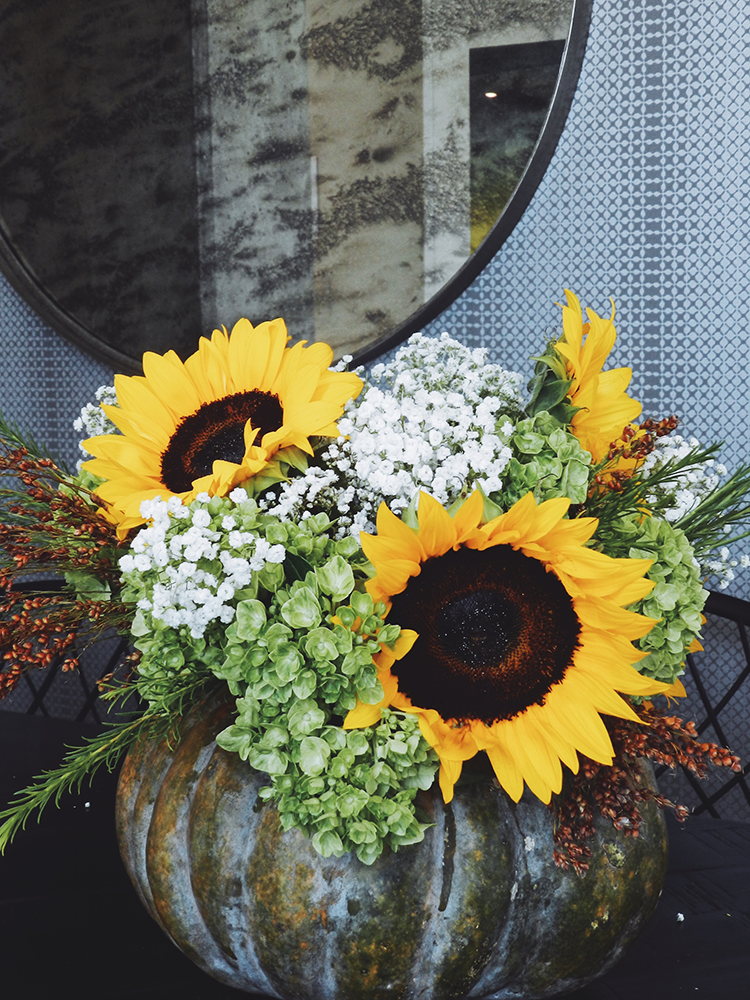
Last, but not least! Step 7: Add your focal flowers!
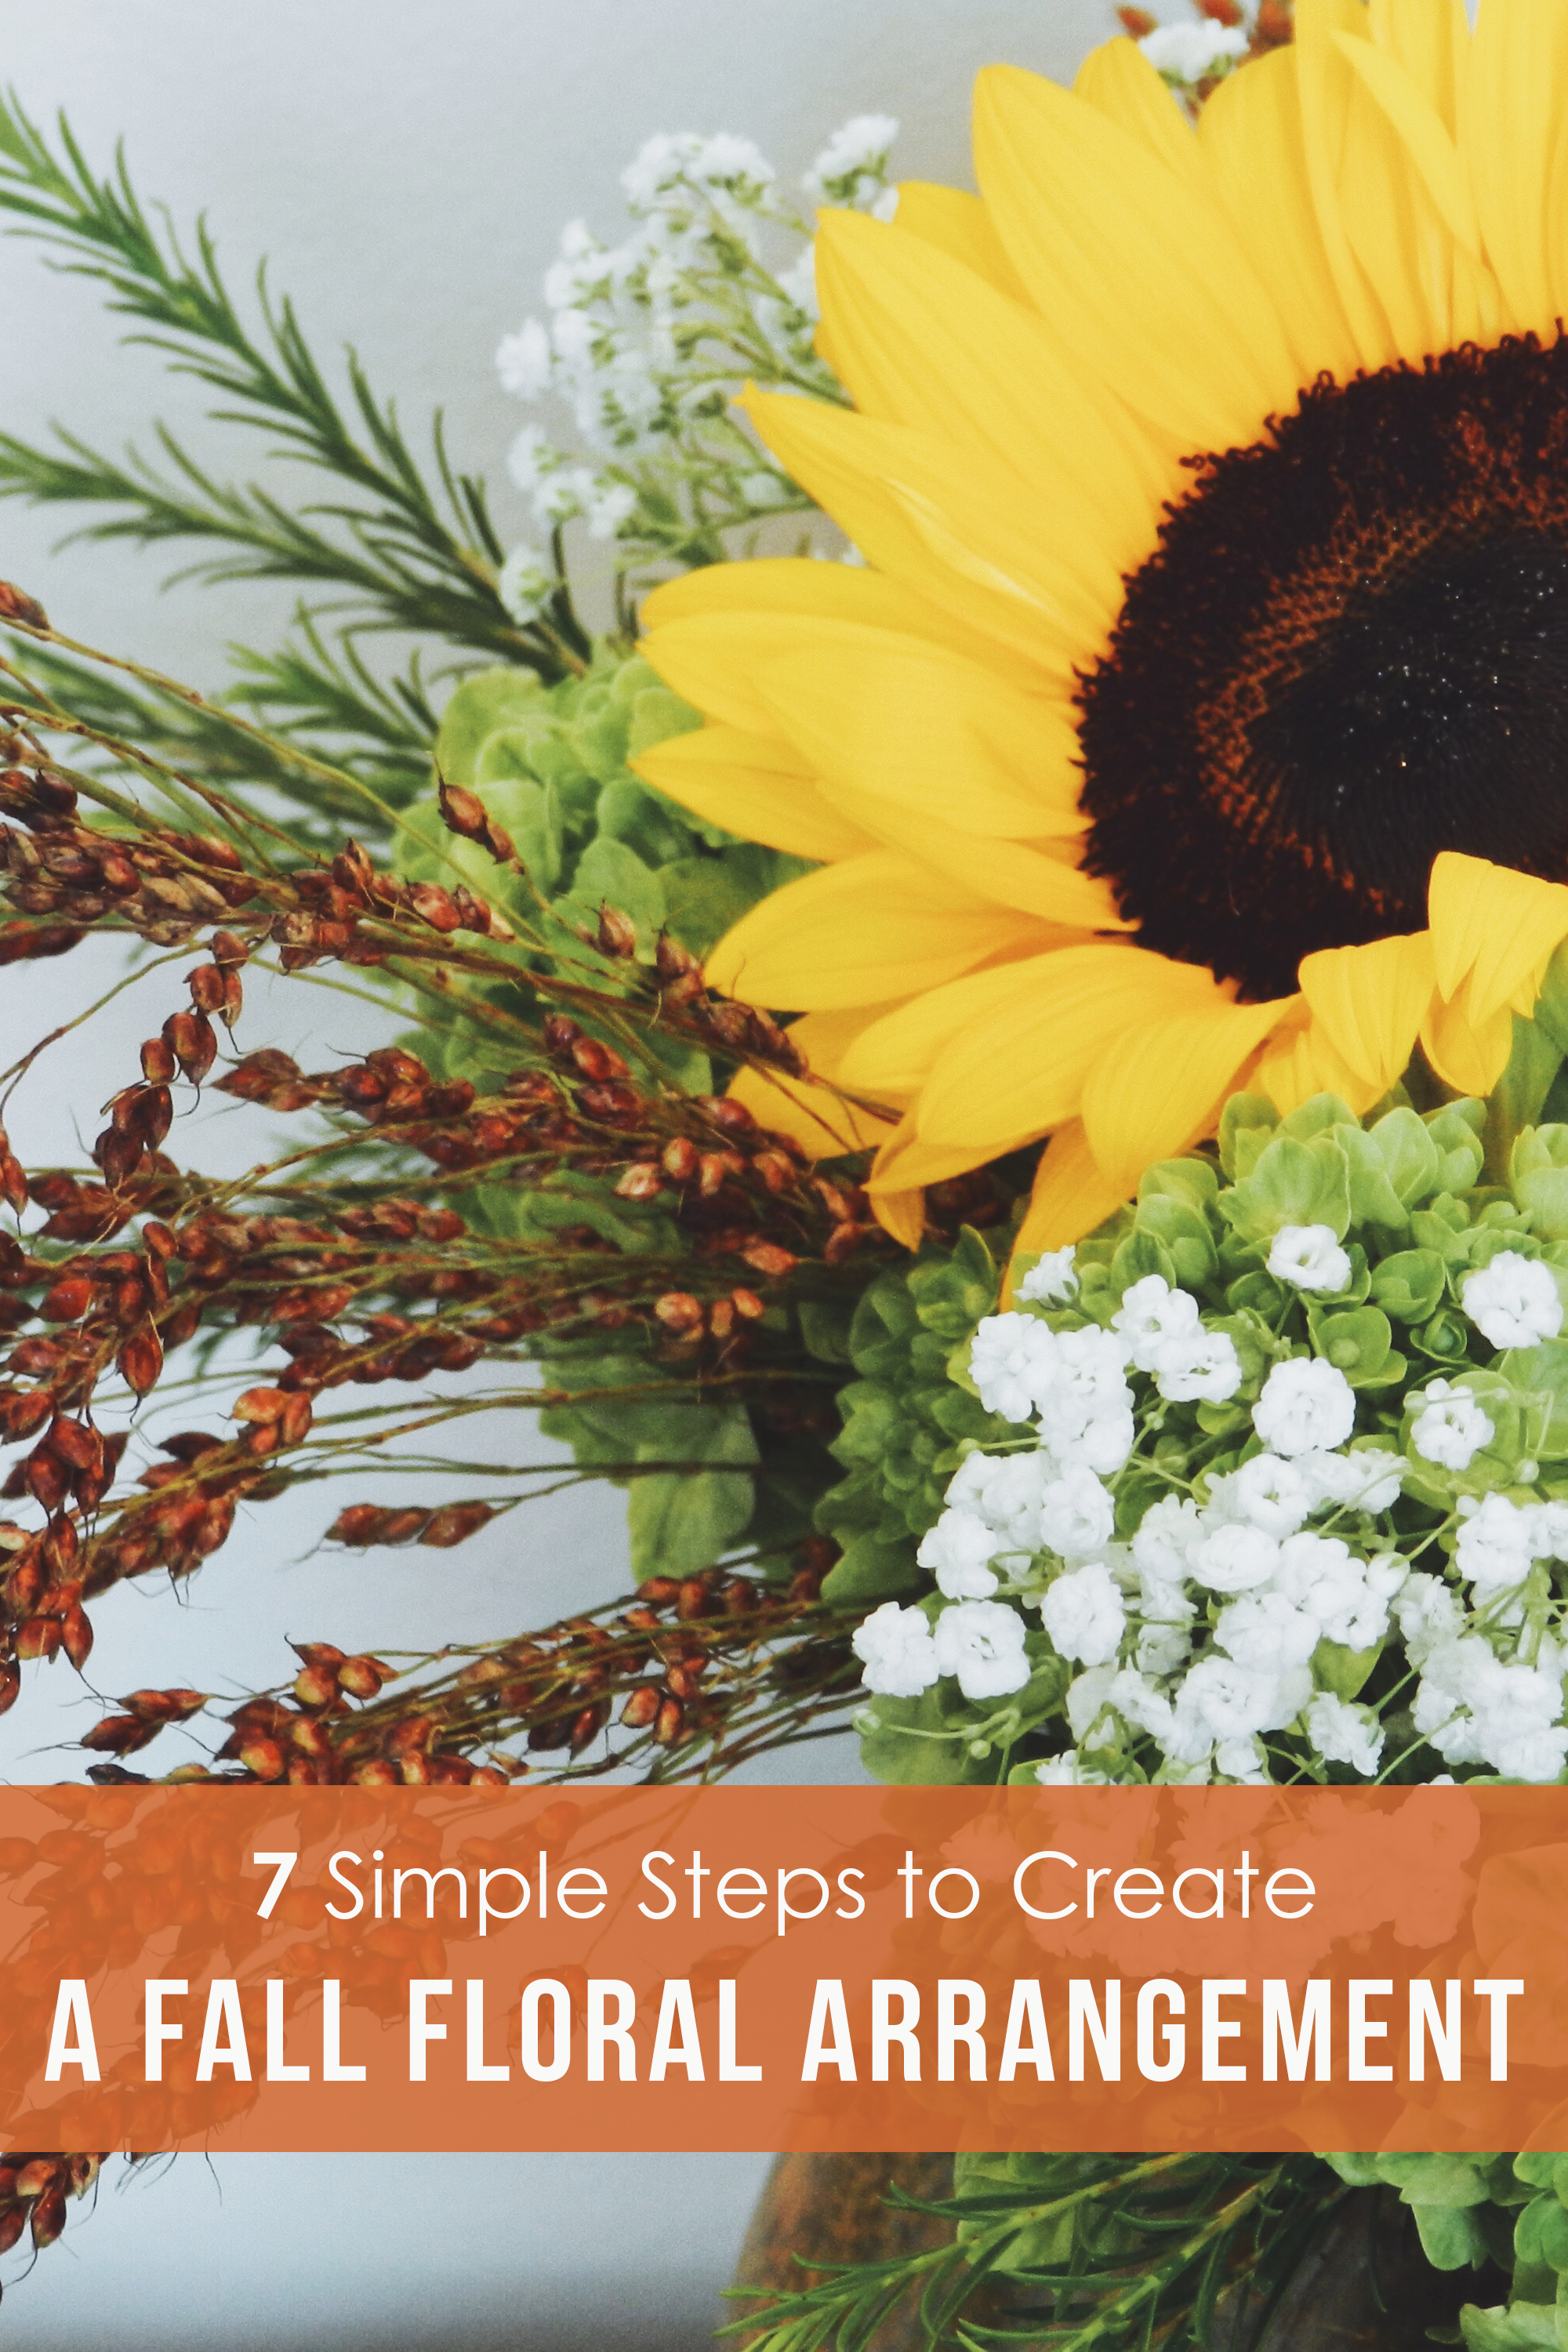
Large statement blooms, like roses, peonies, carnations, or sunflowers are encouraged because they are going to be what is noticed first. This step is the best part in creating an arrangement, because the focal flowers tie everything together. I chose sunflowers as my focal flower, and loved the way the contrast between the yellow tones brought together some of the orange in the pumpkin.
Step 7: Add Focal Point Flowers
Put on some music when you arrange too! I listen to French Jazz when I arrange, because lyrics distract me and I find myself more present when I am listening to something instrumental. So put on music that you love, create something beautiful, and just have fun!


